How to Install Hyper-V in Windows 10
Lawrence Abrams
- November 28, 2017
- Read 71,643 times
Hyper-V is a virtual machine software solution that is included with Windows 10 Professional, Windows 10 Enterprise, and Windows Server that allows you to run multiple operating systems at once from within one instance of Windows.
In order to use Hyper-V, you need to have virtualization enabled in the computer's BIOS and be running Windows 10 Professional, Windows 10 Enterprise, or Windows server. If you are unsure if virtualization is enabled, you can try to install Hyper-V using the instructions below, and if its not enabled, Windows will not allow you to continue the installation. Instructions on how to enable CPU virtualization can be found in the article: How to Enable CPU Virtualization in Your Computer's BIOS.
By default, Hyper-V is not installed in Windows and in order to use it, must be installed via the Windows Features control panel. To open this control panel, click on the Start Menu and type hyper-v into the search field. This will bring up a search result called Turn Windows features on or off as shown below
Click on the Turn Windows features on or off result and the Windows Features control panel will open. Now scroll down in the Control Panel and look for Hyper-V. When you find it, click on the plus (+) button next to Hyper-V in order to expand the feature's options as shown below.
Now put a checkmark in both the Hyper-V Management Tools and Hyper-V Platform options so that they are both selected.
If Windows won't let you put a checkmark in the Hyper-V Platform option and displays a message stating that "Hyper-V cannot be installed: The processor does not have required virtualization capabilities", then you do not have virtualization enabled on this computer. To fix this you need to reboot into the BIOS and enable Intel-VT or AMD-V virtualization before continuing with these steps.
Once you have a checkmark in both options, click on the OK button. Windows will now begin to install Hyper-V into Windows.
When it has finished installing Hyper-V, Windows will prompt you to reboot your computer in order to enable the Hyper-V Platform services.
Once restarted, you can click on the Start Menu and type Hyper-V again and you should see a search result called Hyper-V Manager as shown below.
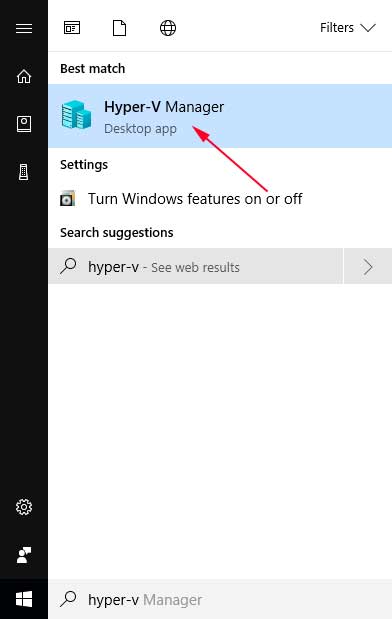
Click on this result to launch the Hyper-V Manager, which will now allow you to create a new virtual machine.
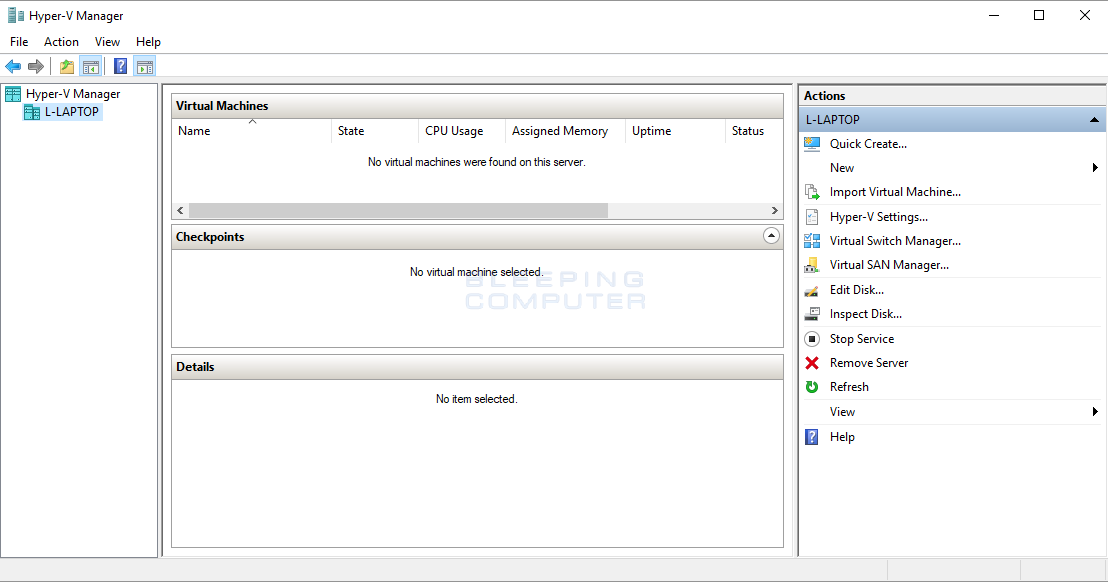
More details on how to create a virtual machine in Hyper-V will be in a forthcoming article.